What is a CNAME record in DNS?

Quick definition: CNAME records are digital signposts that seamlessly redirect one domain or subdomain to another.
In website management, there are lots of moving pieces to keep your site running smoothly. DNS records play a vital role, even before your users see a single image or line of text. DNS, of course, allows your users to get to your site using easy-to-remember domain names instead of machine-routable IP addresses.
But not all DNS records are for resolving names to IP addresses. Today, we’ll look at another type of record, the CNAME (or “canonical name”). CNAMEs are unique in the DNS world, but that doesn’t make them harder to work with versus other record types. Let’s dig into what they are, their technical nuances, and how to create them.
What is a CNAME Record?
CNAME stands for “canonical name,” but you can think of them as the internet’s forwarding addresses. Their purpose is to forward you from one domain or subdomain to another for an uninterrupted flow for your users.
Imagine you own the domain cbtnuggets.com. You create a CNAME for stuff.cbtnuggets.com with the value of www.cbtnuggets.com. Anyone accessing that subdomain simply gets redirected to your homepage.
In the background, your computer asks a DNS server to resolve stuff.cbtnuggets.com. The DNS server replies, “That’s a CNAME record, and the value is www.cbtnuggets.com, so go there instead.” That triggers a second DNS lookup for www.cbtnuggets.com, which returns an IP address since that is an A record. All these lookups and redirections are transparent to the end user, like any other DNS resolution.
You can also set up a CNAME to go to a completely different domain, like microsoft.cbtnuggets.com resolving to microsoft.com. While that example doesn’t seem very useful, there's a similar use case with cloud hosting providers.
Say you are running an app in Azure using App Services. The app might run a website or API service. After creating the app, Azure automatically assigns it a default domain name, something crazy long like my-cool-website-01.azurewebservices.net. You, as the admin, must use a CNAME record to resolve your own domain to the app’s default domain.
This works well for Azure because the app's IP can change within its infrastructure. Instead of asking you to change your A records, they simply change the IP of the default domain. Any IP change becomes transparent to you and, more importantly, to your users.
What is the Difference Between A Records, CNAME Records, and DNS Records?
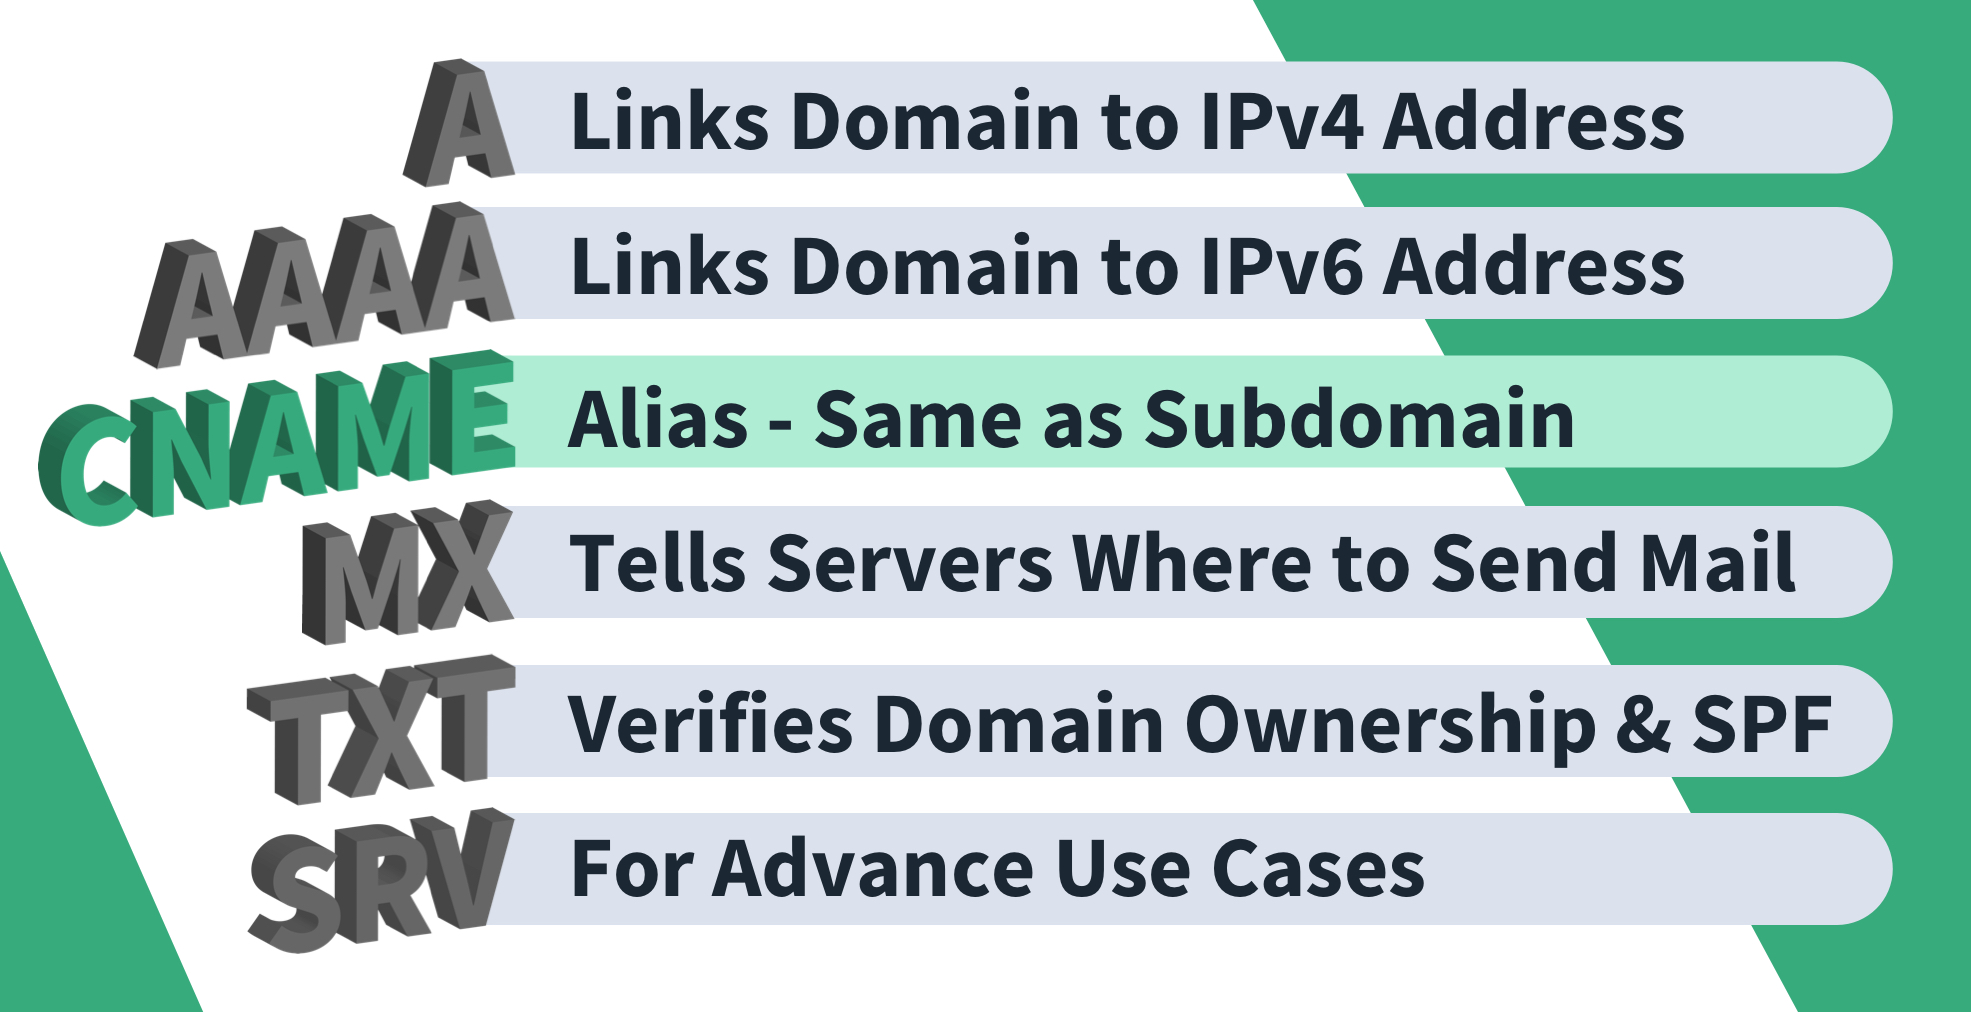
We’ve been throwing around a few different record types here, so it might be worth taking a step back for anyone less familiar with DNS and the different types of records. CNAMEs play one part in a much broader list of record types, but we’ll focus on the essentials here.
A records are similar to CNAME records in that they resolve a hostname to get users to your site. While CNAMEs resolve a domain to another domain, A records resolve a domain to an IP address. Usually, this will be a static IP assigned to you by your ISP (if hosting on-prem) or cloud hosting provider. If you’ve worked with AWS elastic IPs, then you’re familiar with using A records to get traffic to your EC2 instances or other resources. We have a whole deep dive on A records for the curious.
One way to determine when to use a CNAME or A record is to use what your third-party service tells you to use. Services such as content delivery networks (CDNs), security proxies, load balancers, or cloud hosting services generally provide a CNAME to use your domains with those services. This is because their infrastructure is dynamic; using a CNAME allows them to direct traffic to IPs as needed to provide those services to you.
How to Set Up a CNAME Record
Now that we are CNAME masters, it’s time to create some! The process will vary depending on where your DNS is hosted, but here’s a general framework.
1. Choose Your Subdomain
The first step is to determine what subdomain you are going to create. This is something your users will use and see, so make it descriptive yet simple and easy to remember.
2. Access the DNS Management Panel
Every DNS host will have a page where you can access the DNS zone, which is a list of every DNS record for your domain. On this page, you can see all your records, modify or delete existing records, or create new ones.
3. Create the New Record
If it’s not obvious how to do this, consult your host’s documentation, but generally, there will be a “Create Record” or “New Record” button. Then fill in the info: the subdomain, the value (where your CNAME will point to), and a TTL (time to live, which is how long clients will cache your record), and save your changes.
4. Wait
DNS changes take a few minutes to propagate across the internet, so your new record won’t be visible for a bit.
5. Verify Propagation
Use a tool like DNS Checker to verify that your record has been propagated to other DNS servers worldwide and that the record is correct. Need to fix a typo? Rinse and repeat this process, but remember that your TTL will affect how soon a change will be picked up. More coffee!
Final Thoughts on CNAME Records
CNAME records ensure a smooth voyage for your users, easily getting them from one domain to another. Hopefully, we’ve cleaned up some of the mystery of this ubiquitous record type and given a clear view of where they fit in the greater DNS landscape.
Not a CBT Nuggets Subscriber? Sign up and start learning today.
delivered to your inbox.
By submitting this form you agree to receive marketing emails from CBT Nuggets and that you have read, understood and are able to consent to our privacy policy.
