6 Ways to Customize Windows Terminal

If you haven't started using the new Microsoft Windows Terminal, it's time to get it right now! Leave behind the days of the old conhost.exe and cmd.exe and upgrade your shell experience to Windows Terminal with PowerShell.
There are a ton of great new features in Windows 10 for both users and admins, such as unicode font support, custom key bindings, color schemes (aka. themes), and a command palette similar to Visual Studio Code. Configuring all of these features is easily performed, or automated, through a file called settings.json in your user profile. Learn about settings.json and more with our Windows 10 training.
If you're using a text editor that supports JSON schema, such as Visual Studio Code, the settings customization experience is made even easier with auto-completion. You don't have to remember the structure of the settings file, or refer back to documentation as frequently. Instead, the editor will prompt you with the valid settings for each section of the configuration file!
Custom Key Bindings on Terminal
Maintaining a firm grasp on keyboard controls is a surefire way to boost productivity. Although the traditional console host failed to expose custom key bindings, Windows Terminal has solved that moving forward.
The root-level keybindings property in your Windows Terminal settings.json allows you to specify your own key bindings for various commands in Windows Terminal. Commands in Terminal range from creating new tabs, to closing tabs, to moving focus between panes, copying and pasting text, and so on.
While some commands are "simple" commands, which don't require any additional input arguments, some commands are "complex" and require you to specify input arguments. There's two different types of key binding specifications that accommodate each type.
Here's an example of a basic key binding, where you only must specify the command and keys properties. Notice how the command is a simple string value, along with the keys.
{ "command": "paste", "keys": "ctrl+v" }On the other hand, here is a more complex command that requires specifying some custom arguments, that are specific to that command type. In this case, notice how the command property is actually a nested child object, instead of just a string. The action property of the child object is where the command name is placed, instead.
{ "command": {
      "action": "splitPane",
      "splitMode": "duplicate",
      "split": "auto"
   },
   "keys": "alt+shift+d"
}
I encourage you to spend some time adding custom key bindings, to familiarize yourself with the process.
Built-in Terminal Pane Management
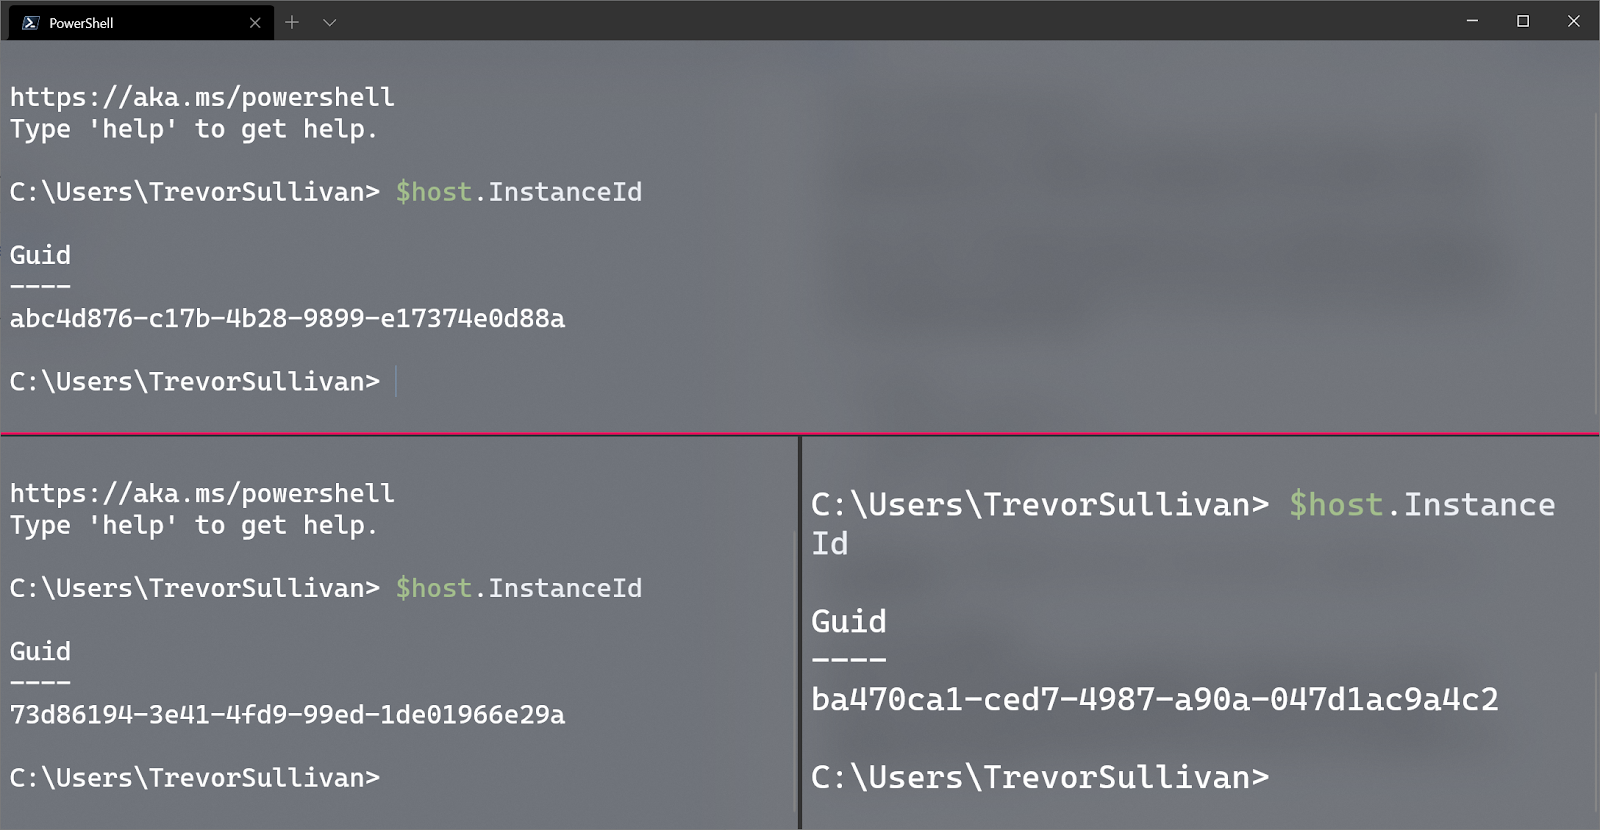
Although tmux isn't available natively on Windows, you can still get some of the benefits of splitting your terminal into multiple panes, with Windows Terminal. By default, there are two keyboard shortcuts that split the current / active pane into two, either vertically or horizontally.
The ALT + SHIFT + MINUS keyboard shortcut splits the pane horizontally. On the other hand, the ALT + SHIFT + PLUS shortcut creates a vertical split.
You might notice that, by default, the active Terminal profile isn't necessarily used to create the new pane, after a split operation. You can configure Windows Terminal to use the same active profile for the newly split pane. Check out the example configuration below.
{ "command": { "action": "splitPane", "splitMode": "duplicate", "split": "auto" }, "keys": "alt+shift+d"} |
The splitMode of duplicate is what causes the active profile to be replicated to the new Terminal pane.

Once you have multiple Terminal panes opened up, you can use ALT + ARROW KEYS to quickly navigate between them.
New to Terminal: Command Palette
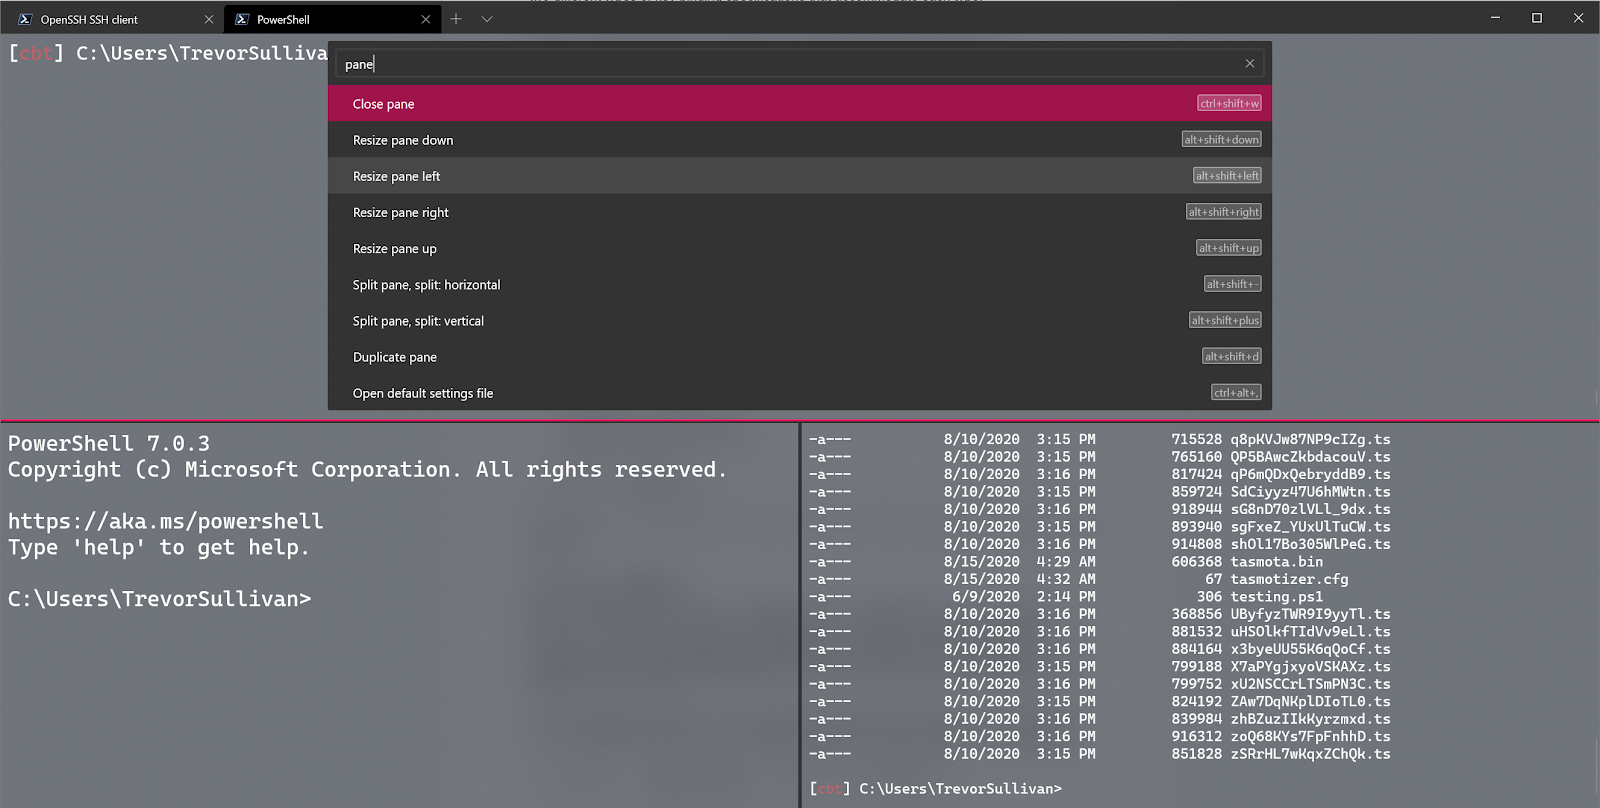
The Command Palette is one of the newer features in the preview version of the Windows Terminal. It gives you immediate, searchable access to all of the application's primary commands. Instead of remembering different keyboard shortcuts for each operation, you can remember a single command palette shortcut, and then simply search for the operation you're interested in (ie. split pane).
Although the Terminal Preview version doesn't initially have a key binding, you can easily add one in your settings.json file. Use the syntax below to add a key binding for Command Palette.
{ "command": "commandPalette", "keys": "ctrl+shift+p"}Keep in mind that, until the JSON schema definitions are updated for settings.json, the commandPalette command might throw a validation exception in your text editor. If you see a message saying "value is not accepted" or "Incorrect type. Expected object" you can safely ignore those validation Kills. Presumably, this will be fixed by the time that the Windows Terminal Preview makes it into a production release version.

Windows Terminal Color Schemes
An easy way to express yourself and liven up your day, is to specify a custom color scheme in your terminal environment.
Because color schemes have already been developed for other terminal applications, such as iTerm2 on MacOS, these schemes are easily ported over to other applications, like Windows Terminal. In fact, the user "atomcorp" on GitHub has done just that, and I've made a backup of the master list of color schemes in this repository as schemes.json.
You can copy these color schemes into the schemes section of your Windows Terminal settings.json file. Once you've imported the color schemes, you can configure each of your profiles to utilize one of them.
Here's an example of how to configure a Windows Terminal profile to utilize a custom color scheme, under profiles.list.
{
   "guid": "{574e775e-4f2a-5b96-ac1e-a2962a402336}",
   "hidden": false,
   "name": "PowerShell",
   "colorScheme": "Nord",
   "commandline": "pwsh"
}
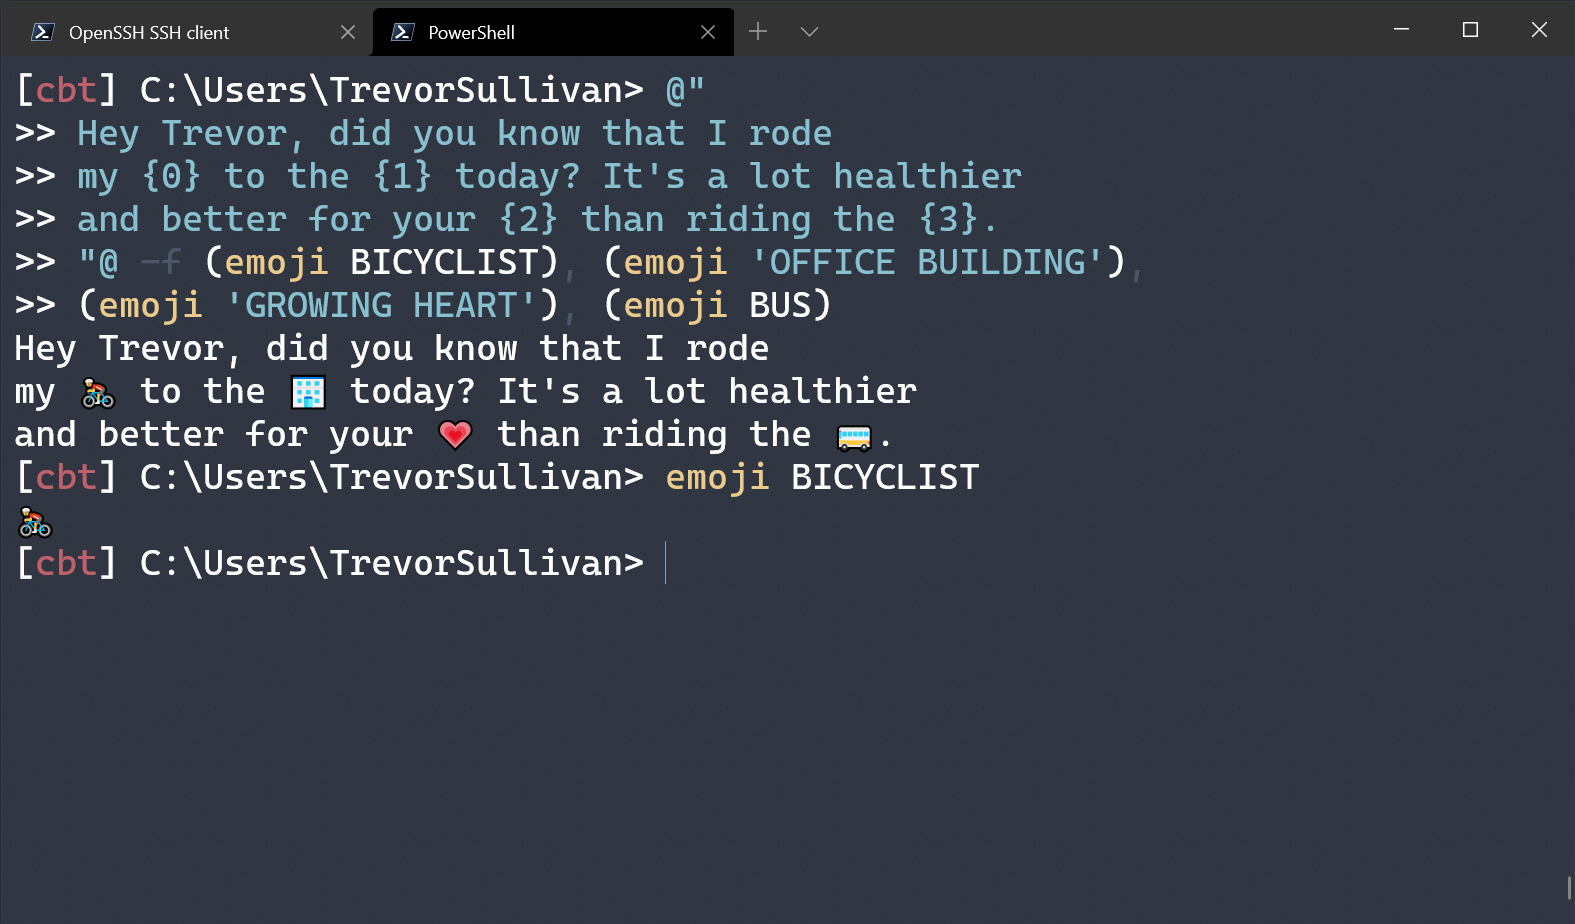
I ported the Nord theme for Visual Studio Code over to the Windows Terminal, and here's what it looks like.

Enable GPU-Powered Transparency
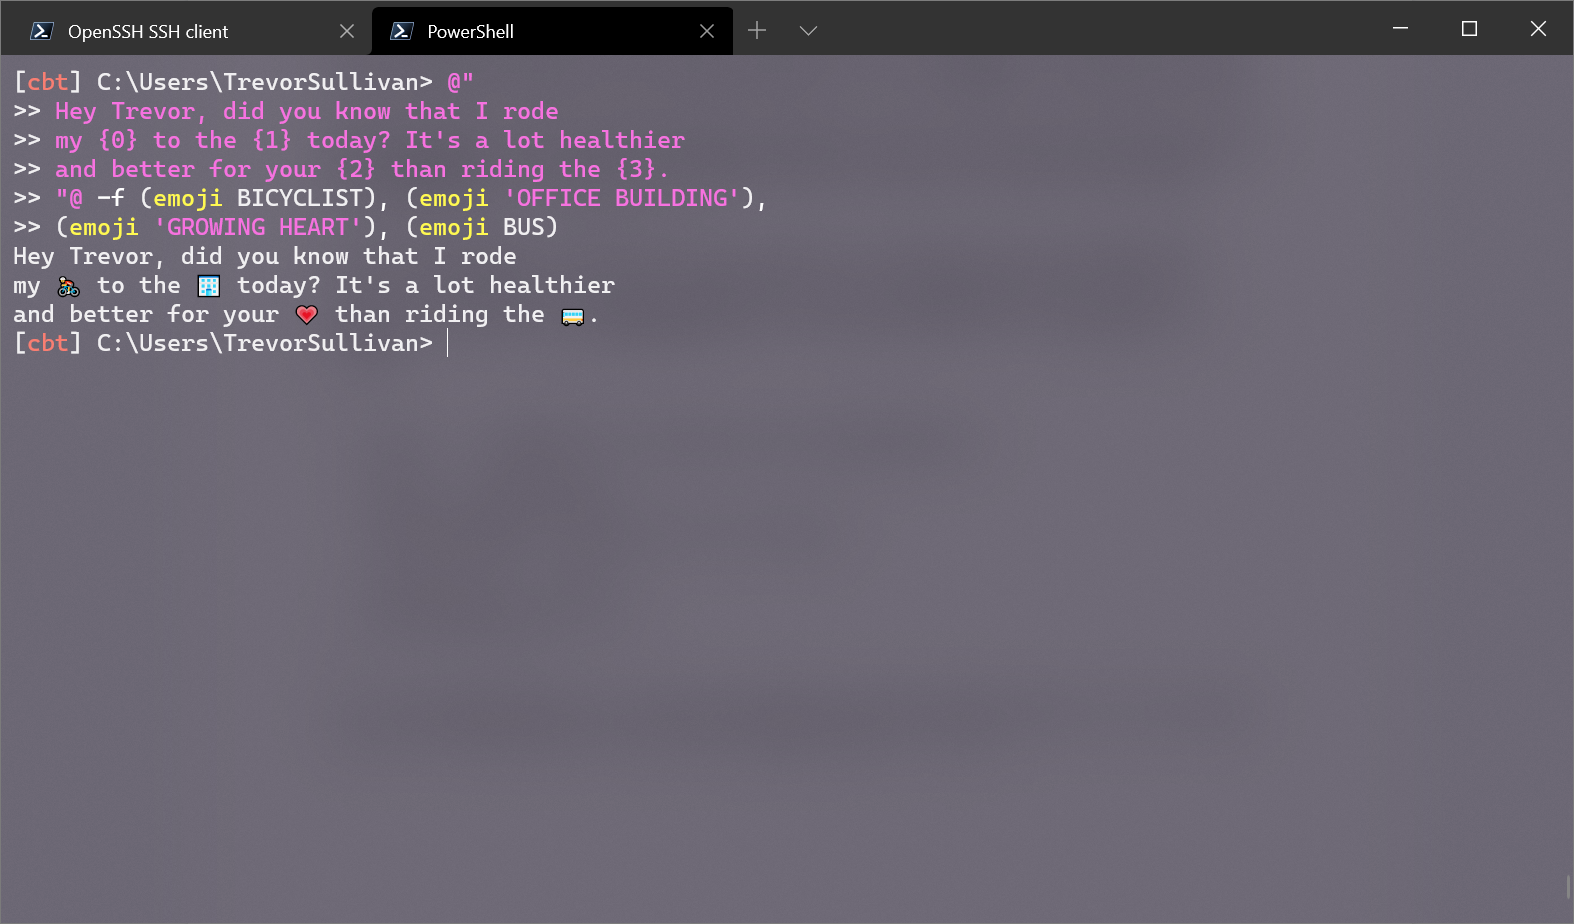
Although not strictly related to the color schemes feature, Windows Terminal profiles also support enabling GPU-powered transparency. This helps your Windows 10 environment feel more integrated, instead of having windows stacked up and completely obfuscating each other.
The transparency feature is called "acrylic" mode and allows you to specify the opacity level, the exact opposite of transparency. Just keep that detail in mind when you're configuring the opacity level in your Terminal profiles!
Here's an example of how to enable the acrylic feature in Windows Terminal profiles. First, notice that you have to enable the acrylic feature with the useAcrylic boolean property. Secondly, notice that the acrylicOpacity can be set anywhere from 0.0 (0% opacity) to 1.0 (100%).
{
   "guid": "{574e775e-4f2a-5b96-ac1e-a2962a402336}",
   "hidden": false,
   "name": "PowerShell",
   "colorScheme": "synthwave-everything",
   "commandline": "pwsh",
   "useAcrylic": true,
   "acrylicOpacity": 0.7
}
In my personal experience, a value of 0.6 to 0.85 works best. These values allow you to clearly read the text in the Terminal, without the window behind it interfering.

Windows Terminal Emoji Support
Thanks to Windows Terminal's support for unicode, you can embed emojis with ease. Back in the conhost.exe days, emojis would just be rendered as unknown characters.
In fact, there's a PowerShell module, aptly named Emojis, that allows you to add emojis into your automation scripts. Here's an example of what that looks like:

Wrapping Up
If you're using the Windows platform, and spend any amount of time in the terminal, you should be using the Windows Terminal! Download it today, and if you're feeling adventurous, download the preview version as well. Spend some time getting to know the structure of the settings.json file and start customizing the Terminal to do your bidding.
Check out my Windows 10 training for more ways to customize the Windows Terminal.
delivered to your inbox.
By submitting this form you agree to receive marketing emails from CBT Nuggets and that you have read, understood and are able to consent to our privacy policy.