Case Study: Choosing the Right Automation Tools for API and UI Testing

Struggling to choose the right API testing tools? I've been there, too. As an automation architect, I've tried it all, from Postman to Supertest.
In this blog, I'll cover GUI and code-based testing, share community insights and practical tips, and provide a real-world case study based on my experience. New to API testing or looking to upgrade? This guide will help you choose the best tools for your team and project.
Let's dive into the different types of testing tools available to help you make an informed decision.
Choosing the Right Automation Tools for API and UI Testing
Finding the perfect automation tools for API and UI testing can be difficult. This guide compares several tools so you can match the right tools with your team’s abilities and project demands for successful testing.
Section 1: Exploring the Options
Let's talk about ways to test your API. There are two main types: tools with a nice interface and tools that use code. To start, let's explore GUI-based tools that are beginner-friendly and widely used.
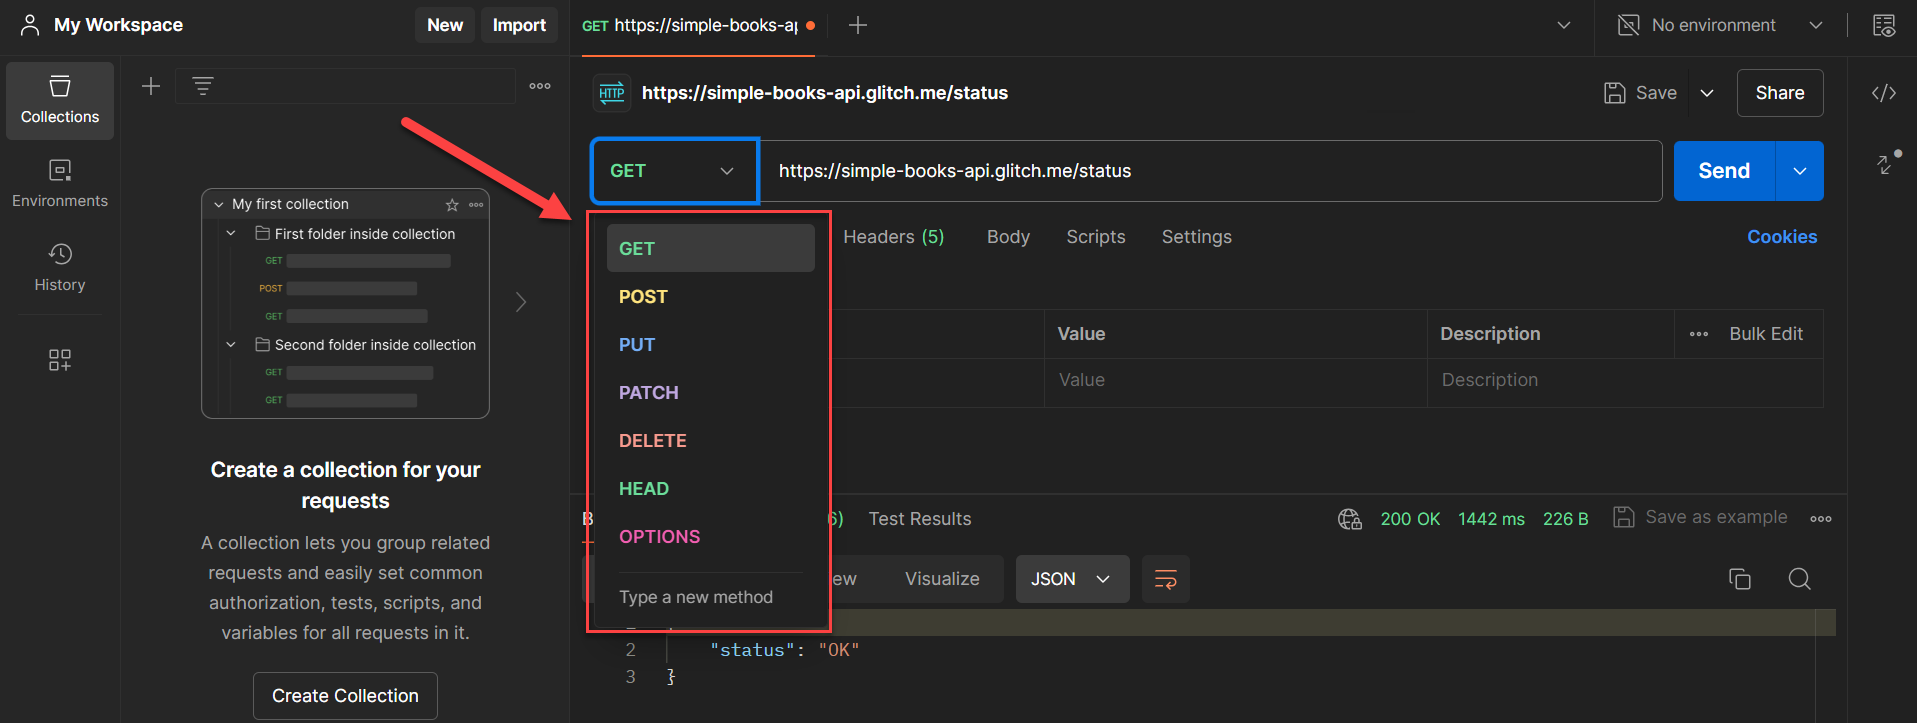
1. GUI-Based Tools (Postman, Insomnia)
These tools, like Postman and Insomnia, are easy to use. They're great for beginners.
Postman’s Strengths:
User-friendly: Ideal for beginners with its intuitive interface.
Automation integration: Works with Newman for automated testing and continuous integration.
GUI-based approach: Allows teams to focus on testing logic rather than code.
Challenges with Postman:
Scalability issues: Can become unwieldy with large test suites.
Complex data handling: Less efficient for advanced scenarios requiring granular control.
While Postman is excellent for starting out, it may have limitations as your testing needs become more complex.
While GUI-based tools are great for getting started, let's explore how code-based libraries can offer more flexibility for advanced testing needs.
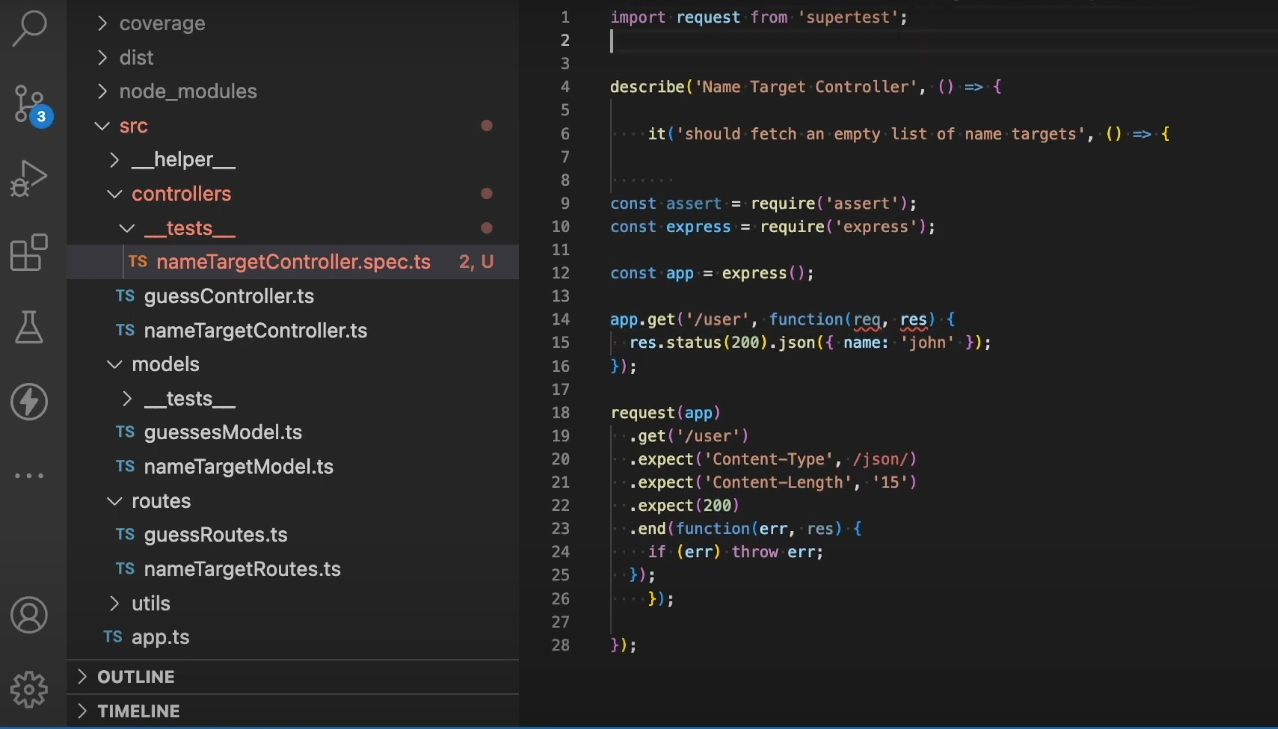
2. Code-Based Libraries (Supertest, RestSharp, Refit)
These libraries offer greater flexibility and control for testing APIs, which is ideal for advanced users who prefer coding over GUI-based tools.
Advantages of Code-Based Approaches:
Flexibility and stability: Better for large, complex test suites.
Detailed customization: Allows for advanced testing scenarios.
Language integration: Works well with various programming environments.
Considerations for Implementation:
Requires coding expertise: Ideal for teams comfortable with programming.
Longer onboarding process: Steeper learning curve but offers robust solutions.
Language alignment: Choose libraries that match your existing codebase (e.g., C# with RestSharp, TypeScript with Supertest) for better compatibility and efficiency.
Section 2: Insights from the Community
After understanding the types of tools available, it’s also important to consider how to integrate them effectively. For that, we look to the experts and others in the community to better understand the challenges and options.
Hybrid Testing
Some experts suggest using a mix of methods. This means testing APIs directly, but also testing important parts through the user interface. Many teams find that using Karate for testing allows them to streamline their workflow by covering both API and UI tests in a single step, saving time and reducing the need for multiple tools.
Picking the Right Language
It's best to use the language that matches what you're already using. Why? It just makes everything easier. Your developers won't have to learn a whole new language, so they can jump right in and start testing.
When deciding between languages like TypeScript and C# for API testing, there are several factors to consider:
Documentation quality: How well-documented is the language and its associated tools?
Ease of learning: Is the language easy for your team to learn and use?
Long-term maintenance: How easy will it be to maintain your codebase over time?
Each language has its pros and cons. TypeScript, for example, offers strong typing and integrates well with JavaScript projects, making it a good fit for tools like Supertest.
On the other hand, C# provides robust support for .NET applications and is well-suited for libraries like RestSharp. Ultimately, the best choice depends on your team’s skills and the specific needs of your project.
Section 3: Practical Decision-Making
Here’s how to decide on the right tools based on your team's skills and project needs.
Use GUI-Based Tools (Like Postman) when:
Your team is new to automation
You need to start testing quickly
You're performing small test projects or just starting out
Use Code-Based Tools (Like Supertest) when:
Your team knows how to code
You have big projects that will grow over time
You have many different types of code or a complex system
You can also mix both approaches by starting with easy-to-use tools and then moving to more advanced ones as your team learns. For example, you might begin with Postman because it's simple, then switch to Supertest when you need more powerful tests.
This way, you can pick the right tool for your team's skills and your project's needs. To see these principles in action, let's look at a real-world case study from my experience.
Section 4: Case Study and Real-World Application
My Job: I had to set up tools to test software automatically at a company that hadn't done this before.
Challenges Faced:
No existing automation infrastructure
Diverse codebase (C++, C#/.Net, Vue/React)
QA team inexperienced in automation
Complex microservices architecture testing
Legacy code integration
My Choices:
I adopted a hybrid approach, combining GUI and code-based tools:
Introduced Postman for API testing, starting with simple GET requests to our user service.
After successfully integrating Postman, we moved on to Supertest for more complex testing, like testing our payment processing pipeline, which further streamlined our process.
Implemented Playwright for E2E (End-to-end) testing of our new React-based dashboard.
Used Appium to automate tests for our legacy Windows desktop application.
What I Learned
Flexibility is crucial: We adapted our toolset as the team's skills evolved.
Modular testing: We created separate test suites for each microservice, improving maintainability.
Dedicated test environment: We set up a staging area that mirrored production, catching 30% more bugs before deployment.
Gradual skill building: Starting with Postman's GUI allowed the team to grasp API testing concepts before diving into code.
Language alignment: Using RestSharp for our C# services reduced the learning curve for our .NET developers.
What I Achieved
Achieved 70% test automation coverage across our services within six months.
Reduced regression testing time from 1 week to 2 days.
The team's automation skills improved, with 5 QA members contributing to the code-based test suites.
By slowly adding Supertest, we cut bugs by 40% in just three months.
The Big Lesson
It's important to choose tools that fit your team and think about both what you need now and in the future. Starting simple and getting more advanced over time works well. Reflecting on these experiences, it's clear that the right tools make all the difference.
Conclusion
Choosing the right API testing tools is important. I've tried many tools myself, from easy ones like Postman to harder ones like Supertest. What I've learned is that there's no perfect tool for everyone.
It's best to think about what your team can do now and what you'll need in the future. Talk to other people who've done this before—their advice can be really helpful. Before you pick a tool, think about:
What your team is good at
How your software is built
What you want to test in the long run
It's okay to start with simple tools and move to more complex ones later. The most important thing is to start testing and keep getting better at it. This way, you'll choose tools that work well for your team and project.
If you're new to API testing, why not start with our Use Postman for REST API Interaction course? It's a great way to get hands-on experience with a beginner-friendly tool.
Want to dive deeper? Visit our main tutorials page for more on API testing, cloud services, and web development. And if you're ready to take your skills to the next level, try a free 7-day trial of CBT Nuggets. It's an excellent way to start your journey towards becoming a Node.js expert!
delivered to your inbox.
By submitting this form you agree to receive marketing emails from CBT Nuggets and that you have read, understood and are able to consent to our privacy policy.


